How to Create a Lead Magnet Your Visitors Will Want to Download
In this article, I’m going to walk you through how to create lead magnets. There are a number of different formats, but I’m going to focus on three (one for each stage of the Buyer’s Journey).
I’m going to show you how to create a checklist, an ebook, and a case study using a free tool called Canva.
Disclaimer #1: That’s an affiliate link, so I get a commission if you use it to make a purchase (but it won’t cost you anything extra).
Disclaimer #2: I’ve got a soft spot for Canva because they gave me 3 months for free while I dealt with the impact of COVID-19 on my business.)
Now let’s start with the basics. (Or you can skip right to the tutorials.)
Lead Magnet FAQs
How to Create a Lead Magnet
Here are the basic steps you’ll need to take with any lead magnet you create. (Feel free to skip this and get right to the tutorials.)
- Determine for which stage of the Buyer’s Journey you’re creating the lead magnet.
This will help you choose a topic a format.
- Choose a topic for your lead magnet.
What sort of value can you provide to your visitors at the stage of the Buyer’s Journey you have selected?
For example, if it’s an Awareness stage offer, what can you provide to help them as they’re just beginning to realize they have a problem? - Choose the format of your lead magnet.
Generally speaking, the earlier in the Buyer’s Journey a visitor is, the less time they’re going to spend with your lead magnet. So checklists and tip sheets are going to be better for the Awareness stage.
By the time they’re in the Consideration and Decision stages your visitors will expect more and more value, so it’s OK to get longer. Whitepapers, ebooks, demos, consultations, and other more involved formats can work here. - Determine how you’ll create the lead magnet.
Are you going to hire a professional or create it yourself? If you’re creating it yourself, what tools will you use?
There are free tools to create most types of lead magnets. And you can use a free Calendly account to schedule demos and consultations. - Create the lead magnet.
Here’s where the rubber meets the road. I’ll go over this in detail in the rest of this article.
- Set up a form.
Once you’ve created your lead magnet, you’ll need to create a form using something like Ninja Forms or MailChimp so that visitors can give you their contact information in order to receive the offer.
Here’s a tip: the earlier in the Buyer’s Journey the offer is, the shortest the form should be. On the other hand, the more valuable the offer is, the longer the form can be. But either way, try to require as few fields as possible. - Set up a delivery system.
Using something like Calendly, MailChimp, Drip, etc. (depending on the format of the offer), set up a way for them to take advantage of the offer.
Whether it’s an email with a download link, an immediate redirect to the file, or a calendar link to schedule a call, you need to make it as easy as possible for your visitors to take advantage of the offer once they’ve given you their contact information.
Lead Magnet Tutorials
Here’s a table of contents you can use to jump right to one of the tutorials:
- How to Create a Checklist for the Awareness Stage
- How to Create an Ebook for the Consideration Stage
- How to Create a Case Study for the Decision Stage
But first, go sign up for a free account with Canva so you can follow along.
How to Create a Checklist with Canva
First, you’ll click “Create a design.”
Before you create something in Canva, it’s a good idea to search for the format to see if they already have the dimensions saved. For instance, lots of social media image types are available.

Aside from having the dimensions taken care of, when you choose a default design type, you’ll be presented with some great looking templates.
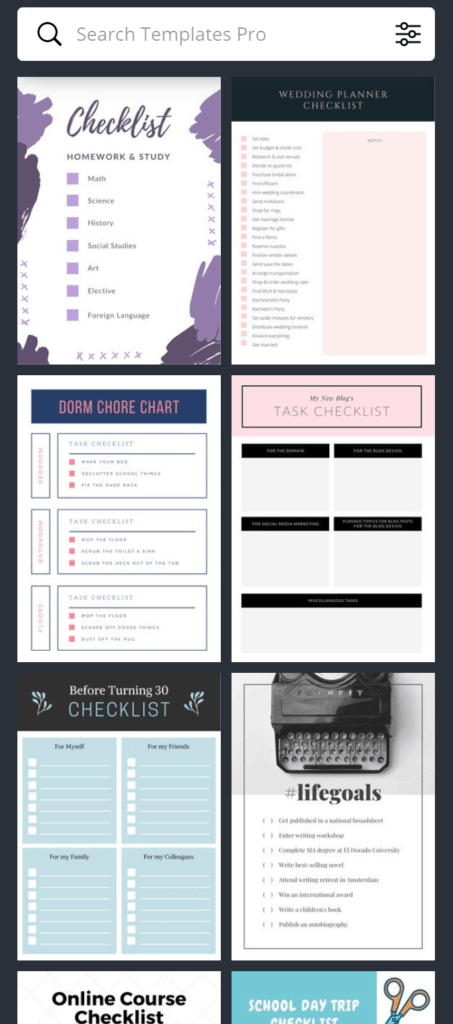
We’re going to create our checklist from scratch today.
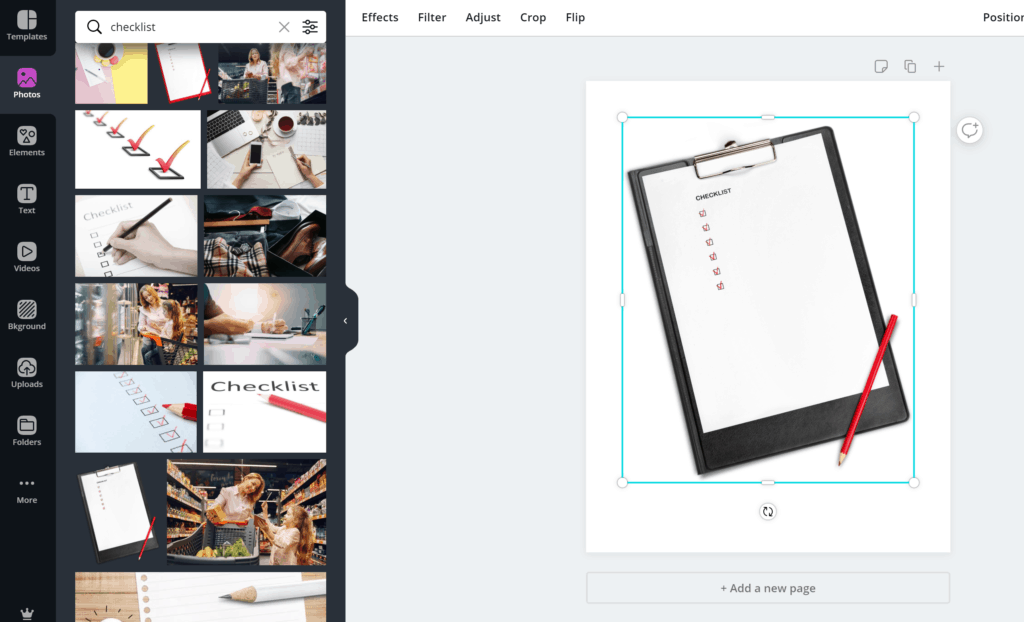
First we’ll go to the Photos tab and choose a picture to add. I like this clipboard with a transparent background.
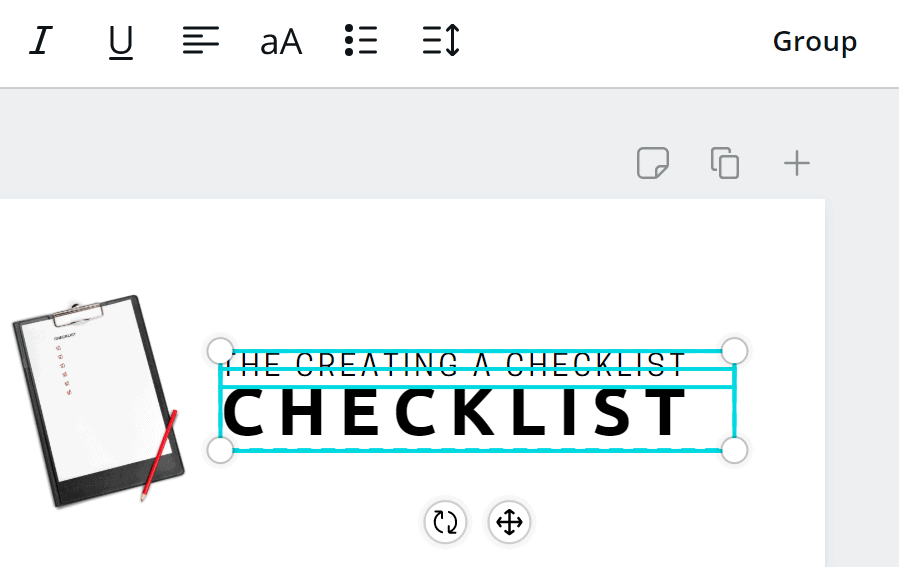
Then we’ll go to the Text tab and choose a good font combo.
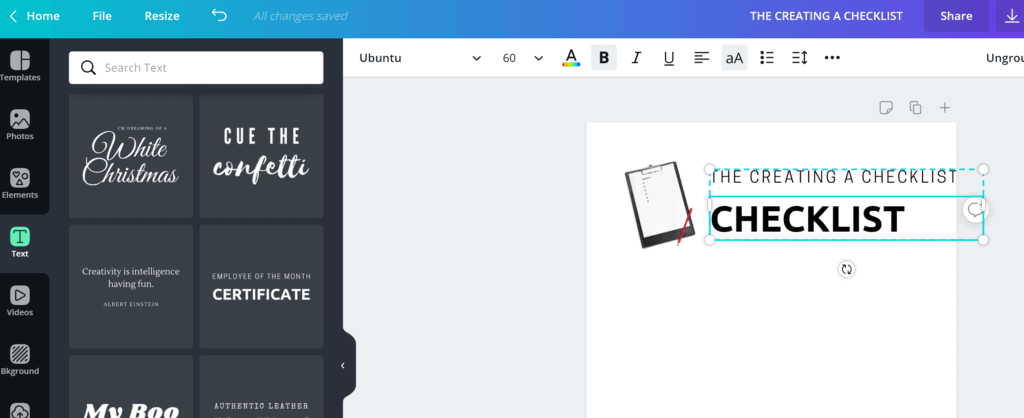
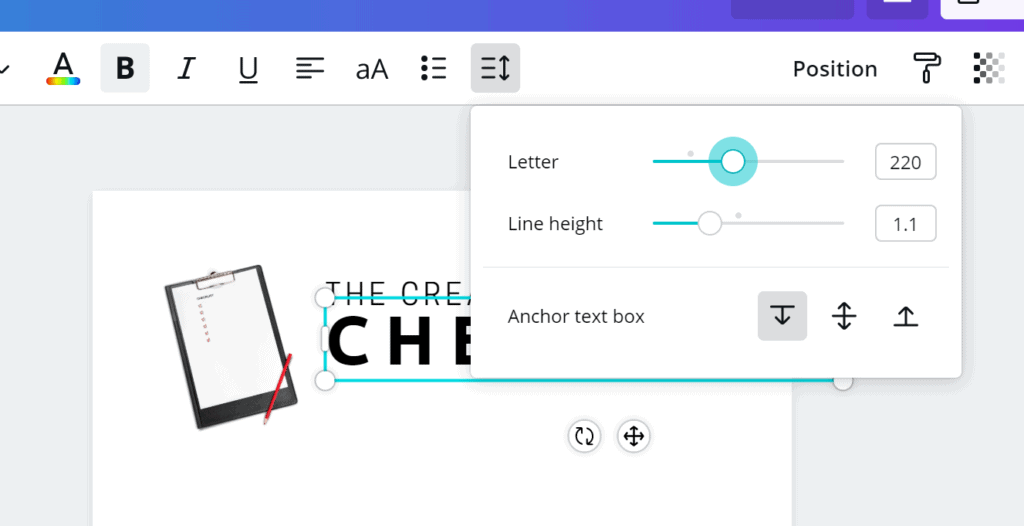
I’m going to ungroup them so I can reduce the spacing between the lines, then I’m going to click the Spacing icon so I can spread the letters further apart so that “checklist” takes up as much space as the line above it.
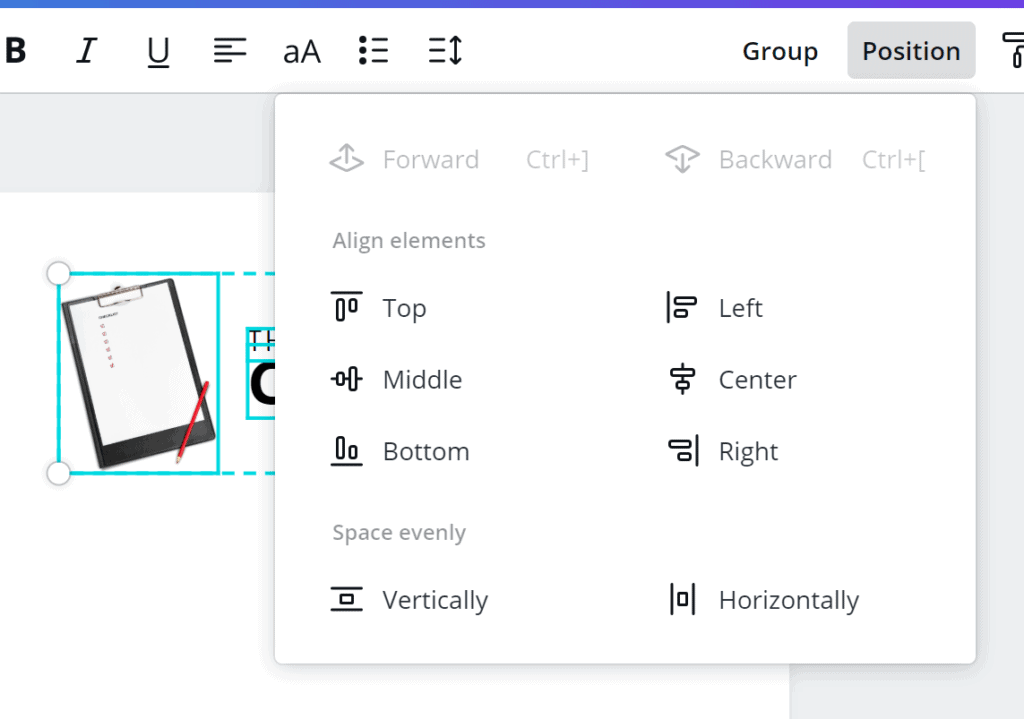
Then I’ll select both text boxes and group them together so that I can align them with the image.
After I group those text boxes together, I’ll select the text and the image, click the Position button a choose “Align elements” > “Middle.”
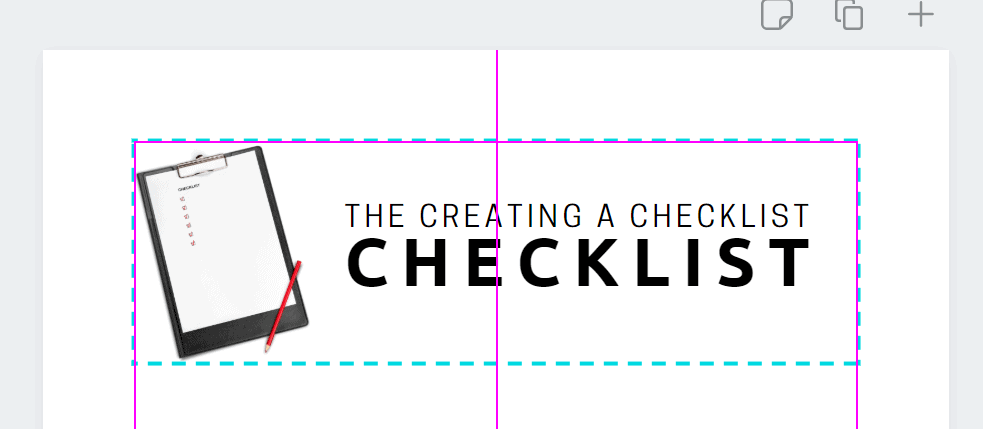
Next, I’ll drag everything to the center until I see a pinkish purple line going down the page. That let’s me know everything is centered.
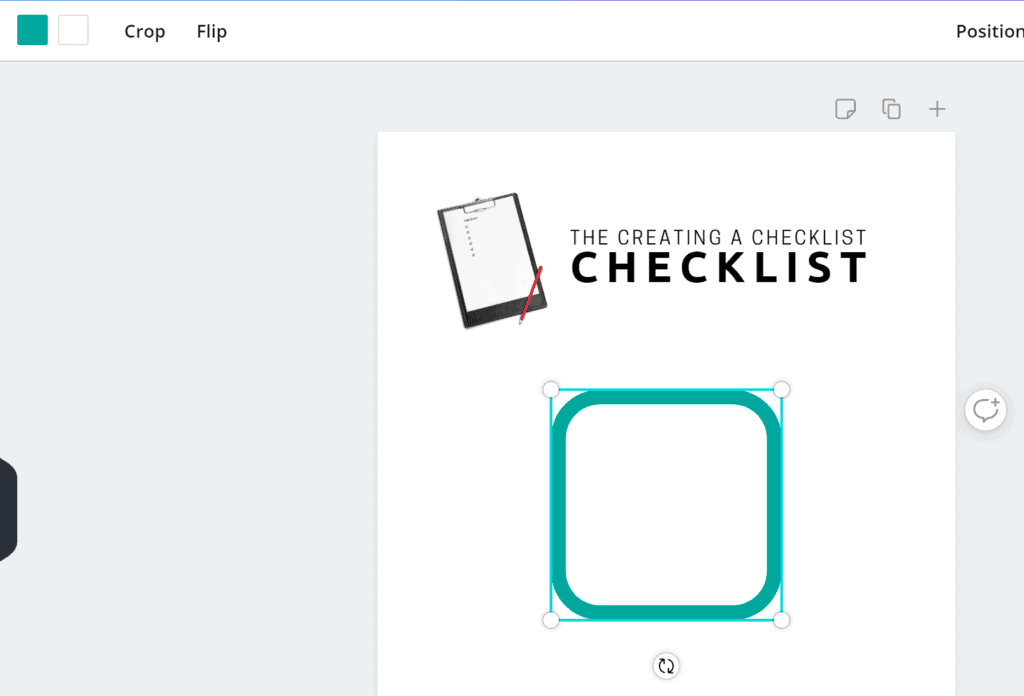
Now I need to go to the Elements tab to find a checkbox.
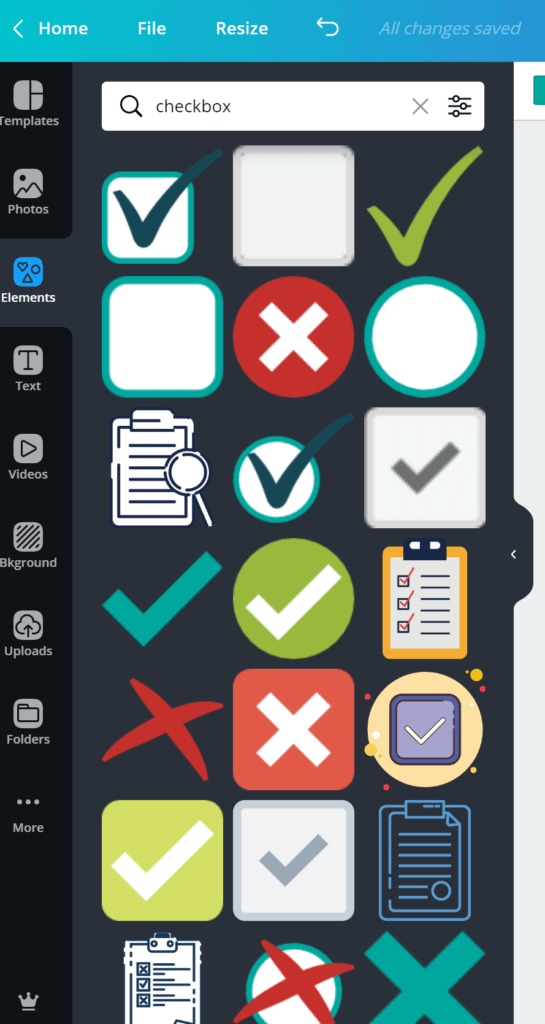
This one looks good, but I don’t like the color, so I’ll click the color box up top and change it.
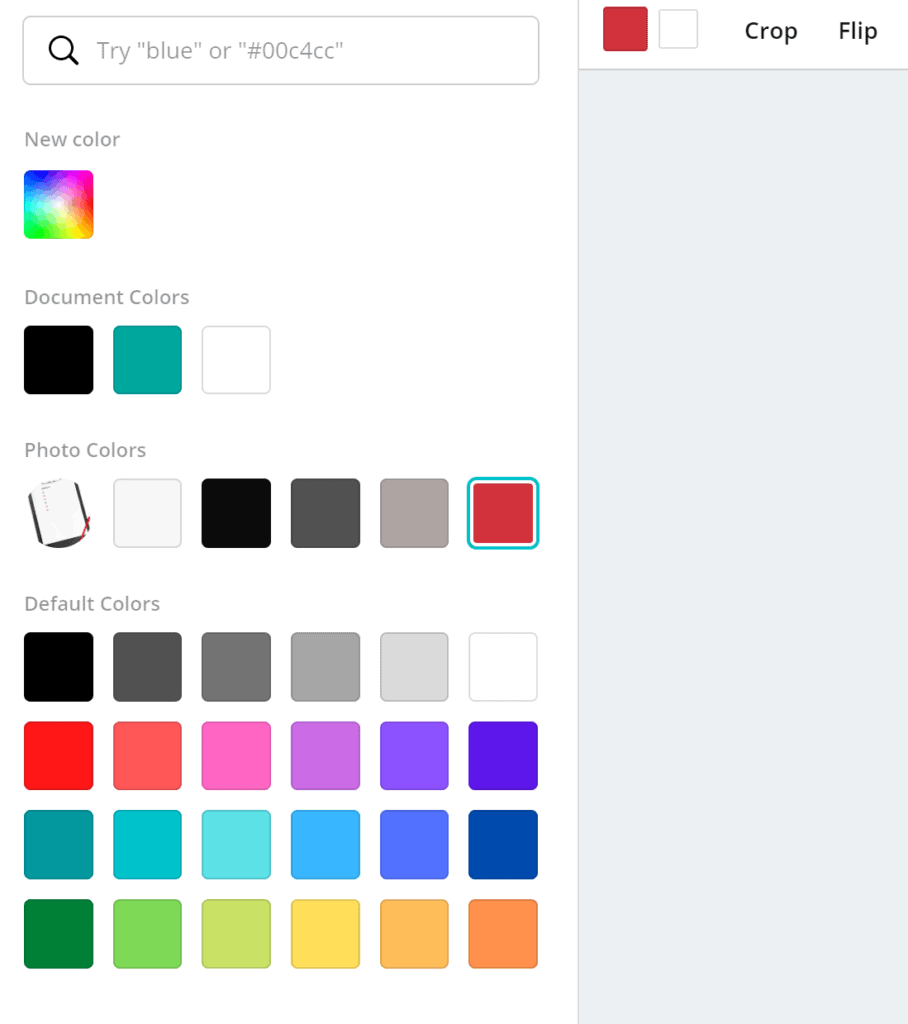
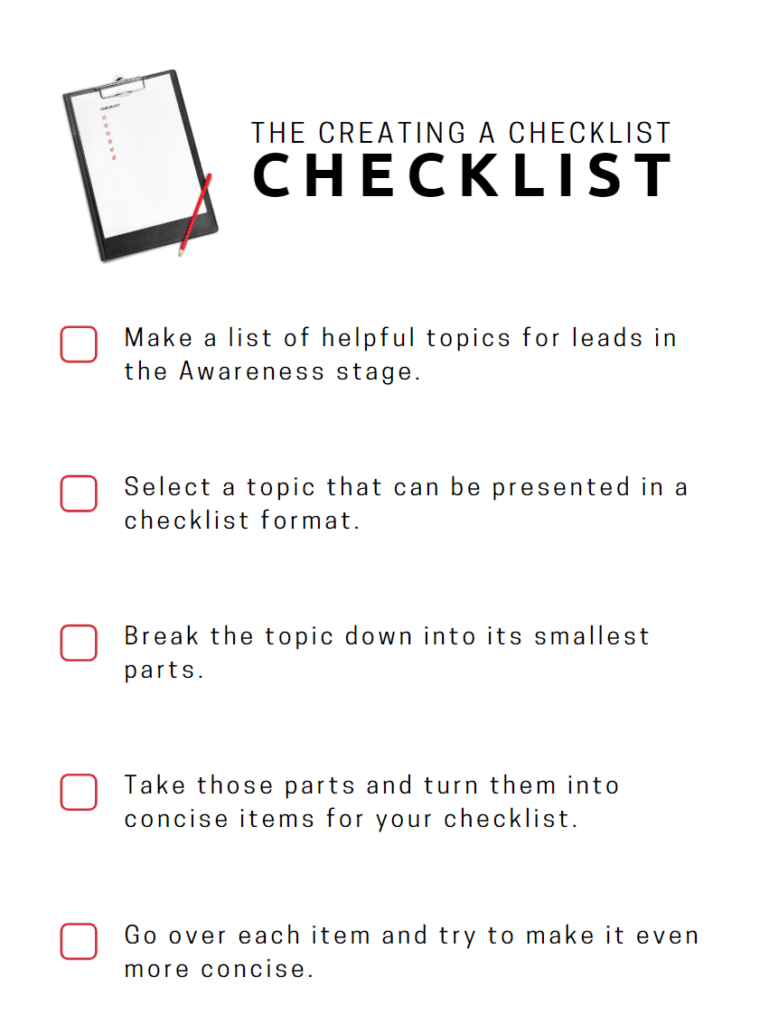
Then I’ll size it down and duplicate it for however many items I want in my list. I’m going to go with five.
Then I’ll put one where I want the top one to be, one where I want the bottom one to be, and align center and distribute vertically.
Then add each item and line it up with the checkbox.
How to Create an Ebook with Canva
Canva doesn’t have an entire ebook template, but it does have a lot of ebook cover template.
Once you choose the one you want to use, hit the plus button at the top right of the page you’re working on to get a fresh page.
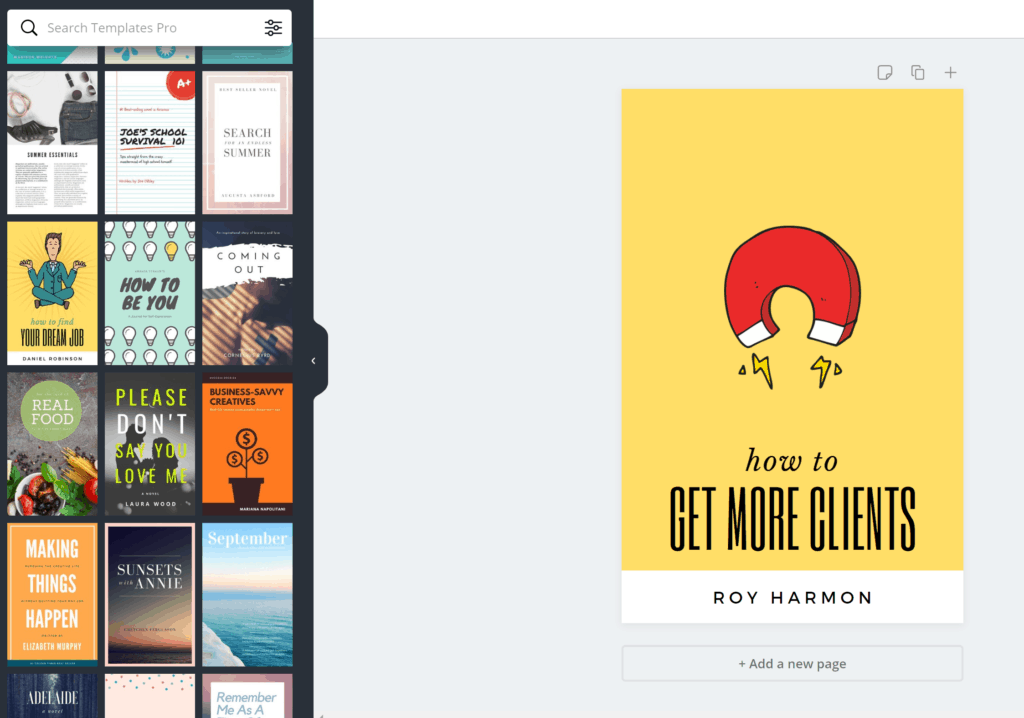
Then all you have to do is drag and drop text, elements, and photos like we did for the checklist until you have a complete book!
Piece of cake right?
How to Create a Case Study with Canva
Unfortunately, Canva doesn’t have a case study template or anything like it really. But you’re in luck!
I have created a case study in Canva, and I’m offering it as a free template.
Leave A Comment